This is a great little tip for those of us who don't want to spend the money on new Hardware.
We often find dressers and lovely pieces, but they're either missing some hardware, or it's just plain outdated and ugly.
When you go to replace the hardware on older pieces, you often find that it's going to cost as much or more than you paid for your "Goodwill" find and the new sizes don't work. The screw holes of your older piece is 2 3/4" and the newer hardware has 3" - 3 1/2" holes. That means you would need to fill the older holes and re-drill. The problem is often that when you drill into the filler - it chips or falls out. Also, this is a lot of added work.
I have found two lines of spray paint that I truly love. Rustoleum and Krylon. With these paints, you can change that old hardware in a few minutes and refresh you're entire look.
Out of the two (remember this is MY opinion) I prefer Krylon. Both adhere well to metal hardware, they're durable and come in a selection of colors. Krylon has many more colors and styles. I like the metallic shades of Krylon.
Prices are comparable, Rustoleum is around $3.50 Krylon roughly $5.50. I feel that you get better coverage with the Krylon, so the product goes further.
Preparation before you paint: Clean old hardware with soap and a stiff toothbrush. Get all the grime off that has been building up for years. Wipe dry, I then take a piece of sandpaper and gently rub it over the handles. Not hard enough to put deep scratches in the finish, just enough to make it a bit less shiny. Then I wipe it down again to remove the sanding dust and let it sit a while to be sure it is completely moisture free.
When you spray the pieces, do it in even light coats. If you put it on to heavy, it'll run and you'll lose the smooth finish. Let it dry completely between coats - to soon and it will remain sticky and tacky.
At this point, you can choose to use the hardware as is or put a top coat of clear on. I like to use a matte or satin finish on both. I often don't use the top coat, it depends on the hardware. If you chose to do a top coat... again light coats.
Hope this helps with that "Ugly" hardware problem. It's amazing how a little coat of paint can transform a brassy looking piece into a classy-chic adornment for your decor.
Tuesday, February 25, 2014
Tuesday, February 18, 2014
Smooth, Silky Finish
Our quick and easy tip for today is: Achieving a Smooth Silky Finish.
Supplies:
Sand Paper - Medium grit (120)
Sanding Block - fine grit
Water
Brush
Paint
Baby Wipes
This is a simple easy to do method, and makes a big difference.
The smoother your paint finish, the nicer it will look when waxed.
First there's the finish on the project you're about to paint. If it's rough and worn, sand it to smooth out as much of the texture as possible. Sometimes this isn't easy, the old varnish has gotten that "Alligator" texture or there's chunks and major impressions in the finish. In order to get it really smooth, you may need to strip it. That is not an area that I don't know a lot about. We try not to purchase pieces that require stripping. To be honest, this is re-purposed furniture. Part of it's charm is the fact that it's been redone.
Start by taking some sandpaper or a sanding block in a medium grit and try to remove as much of the old rough finish as possible. When you've got it to where you're comfortable with the smoothness, wipe it down with some baby wipes. You'll want to remove all the sanding dust before you start to paint.
Application of the paint can also make a big difference in the finished look. Long strokes, not short choppy ones. On my final coat of paint, I like to dip the "tips" of my brush into some water and let the wetness smooth out some of the lines. Once you've painted your piece and if desired - distressed it. Wipe it down again with the wipes. Let the moisture from the wipe dry. Run your hand over the paint, is it as smooth as you want?
If it's as smooth as you want, you can just apply your wax and finish up. If not, take your sanding block in the fine grit and gently rub it over your paint. You don't want to remove too much paint, the point is to just remove some of the brush lines and any other imperfections. Do this all over the piece until you have a nice smooth surface. When done, wipe with the baby wipes to remove all the sanding again, let the moisture dry and you're ready to apply your wax.
If at all possible, I like to wait until the next day to apply my wax. That allows time for all the moisture to evaporate from your paint layers. If you don't have the time to wait, put a fan on the piece for a little while.
Hope this helps, as always - call or come in if you have questions or a problem. We'll do our best to get you the answer.
Patti
Tuesday, February 11, 2014
Fiddes & Sons Wax & Mineral Spirits
 |
| I have found that for the most part, I don't like many finishing techniques that I have tried. From Polyurethane to the numerous waxes available, I'm not totally sold on them. With the Poly's, you have Satin or Matte finish. They come in brush on or wipe on. As for the waxes, there's soft wax or hard. You also have antiquing or glazing. Which one is the most durable, easiest to use and gives the traditional "Chalk Painted Furniture Look"? Well, for the past year it's been pretty much a trial and error situation. Keeping in mind, this is MY opinion. You can try my suggestion and see how you feel about it, who know's maybe it'll be the answer you've been looking for. I have tried all the poly's and waxes I could find. We started carrying "Fiddes & Sons" when we decided to become a distributor for Websters Chalk Paint Powder. It's the wax that the girls at Websters suggest for use with their product. I must admit at first I was not impressed with it. When used directly out of the can, the finish is generally streaky and blotchy. No matter what I tried, it was never (in my opinion) - easy to use or gave a quality finish. That was before I found a fantastic tip from a fellow distributor of "Fiddes & Sons". Her secret was "Mineral Spirits". The suggestion was to add the mineral spirits to the wax. The dissolved wax was then applied with a cloth, wiped into the painted surface and quickly wiped off. It sounded easy so I gave it a try... being very skeptical. It was wonderful!!!! I fell in love with "Fiddes & Sons" and am now excited to teach the technique in our workshops and share it with you. SUPPLIES: "Fiddes & Sons" wax in Clear. (Ruggers Brown for antiquing) Mineral Spirits - odorless if possible. Microfiber cloth Jar I use the jar to mix the wax in small batches. Start with a few large spoonfuls of wax and add enough mineral spirits to make your mixture soupy. You don't want it to be runny thin, just dissolved enough to be spreadable. If you have some lumps, don't worry, they rub into the paint. I suggest Microfiber cloths because they don't leave any lint or fibers on your paint. If you're working with a piece that has been painted black, you don't want little fibers in your finish. I did find some disposable cloths at Home Depot. They work great and you don't have to worry about washing your cloths. You apply the wax mixture "lightly. Put a small amount - maybe the size of a quarter on the cloth. Massage it into the painted surface. Really push it back and forth into the paint. Since the chalk paint is porous, it will absorb the wax. Wipe off the area immediately. Don't let it sit for long. Do this to you're entire project. If you are planning to antique your piece with the Ruggers Brown wax, apply the clear coat first. Then the dark wax will glide on and off leaving you the soft antiqued look. I hope this will help anyone who has problems with their finishes. I am really pleased with this technique and like the way it gives a soft patina to my pieces. Keep in mind, you're finish will still be curing for approximately 30 days. You can use it but be gentle.
Happy Painting,
Patti
|
Tuesday, February 4, 2014
Quick & Easy Distressing Tip
This tip has saved me a lot of time and made distressing a breeze.
Supplies: Sandpaper #80 or #120 Grit and Baby Wipes (not cleaning wipes)
This step is done after you've applied your paint and it's fully dried. If possible I like to wait til the next day.
Distressing is a personal preference. I like to distress mostly around the edges and any relief carvings,
Depending on the number of coats of paint you've applied, ease of distressing will vary. The grit of the sandpaper will help make this stage easier. FYI, the number of the sandpaper determines how fast it will remove the paint. The smaller the number - the coarser the grit - the faster the paint comes off.
I generally use #120, it removes gently, so I don't take off too much. If I want to remove it faster and a larger area, I go for the #80. This is where the baby wipes come in handy. If you take the baby wipe and gently wipe the surface, it dampens the paint. When the paint is damp, it comes off VERY easily. At this point I don't apply a lot of pressure, the paint comes off with very little effort.
After you've done your distressing, take a clean baby wipe and go over your entire piece. This will show you exactly what your project will look like when you wax or poly it. Before putting the finish on, give the paint a little time to completely dry from the baby wipe.
Happy transforming,
Patti
** All the tips I share are for use with "Websters Chalk Paint Powder".
Tuesday, January 28, 2014
Dealing with Bleed Through
What is Bleed Through?
Bleed through is that pinkish or golden color oozing up in spots through your newly applied paint. Usually, you will only notice this when painting lighter colors over darker wood. Mahogany and Cherry are notorious for this.
Bleed is caused from the old varnish/stain being worn or roughed up prior to painting. The moisture from the new paint brings up the discoloration.
When this happens, no amount of paint will stop it, you have to seal it. I thought that if I just let the first coat of paint dry and put on a second coat, it would cover it. No, it will just keep seeping up. There are many products on the market to correct the problem. I have my own favorites, Kilz and Polyurethane. These are my go to products. They are inexpensive and can be found at most Hardware stores. Simply brush on two coats,waiting between coats til dry. Then apply another coat of paint and wait til it dries. Check to see if you see any of the bleed. Generally, two coats of Kilz or the Poly fix the problem. If for some reason you do see the bleed, sand it down and re-apply the sealer. Then start painting again.
I do a test on all finishes that I think may be a problem. I find a really worn spot and paint it. Wait til it's dry and see if it bleeds. If it doesn't I go ahead with the coats of paint. This little test has saved me a lot of frustration and wasted time.
I hope this tip helps you. If you do have any questions or a situation you would like to talk about, give me a call. I'm always glad to help make your transformation experience - fun.
Patti.
Sunday, September 8, 2013
Time really does fly.
Plans are in the works for our 1 year Anniversary. Does that seem possible... open a year already?
Nancy and I wanted to do a blog that would be a past to present photo album of the pieces that have passed from our door to yours. We pulled up the different albums that we had and realized just exactly what that meant. It wouldn't be possible to post every table, chair, hutch and misc piece. There are hundreds and hundreds of pieces. Just one example, I tried to count all the end tables that have sold, 93 and that's what I had photos of. Chest of Drawers - 86, Chairs - 114 and that's when I decided this was not going to be possible to share.
When we looked back at the photo's, we actually had some pieces we had totally forgotten. The pictures of what the shop looked like when we first got the place - hard to ever remember it looking like that. When we first moved in, Kevin and Jeff unloaded a 26' Uhaul with our unpainted collection of things. Nancy and I thought we had enough furniture to last us forever. We didn't have a clue at that point.
 This is the first photo I took of one of the sides, before they blocked the walls into the old gift shop.
 These photos are of the first load of furniture we had accumulated. We thought it was going to last us a long time. Our worry was - could we get it painted in time to open.
 Our first thing was get the painters in to patch and paint the walls and then decide on what would go where. Basically, two women with paint and really no idea of what was to come. A one year lease and two husbands willing to help when they could. What were we thinking????

Wednesday, October 16th, 5:00 PM - 9:00 PM we will be having our 1 year Anniversary party. We hope you'll save the date and come share our celebration with us. I'll be posting more information as we get closer. Some fun things being planned, great door prizes and giveaways plus yummy refreshments.
We made it this far because of our wonderful customers and friends....
Thank you just doesn't seem like enough.
Create,
Patti
Nancy and I wanted to do a blog that would be a past to present photo album of the pieces that have passed from our door to yours. We pulled up the different albums that we had and realized just exactly what that meant. It wouldn't be possible to post every table, chair, hutch and misc piece. There are hundreds and hundreds of pieces. Just one example, I tried to count all the end tables that have sold, 93 and that's what I had photos of. Chest of Drawers - 86, Chairs - 114 and that's when I decided this was not going to be possible to share.
When we looked back at the photo's, we actually had some pieces we had totally forgotten. The pictures of what the shop looked like when we first got the place - hard to ever remember it looking like that. When we first moved in, Kevin and Jeff unloaded a 26' Uhaul with our unpainted collection of things. Nancy and I thought we had enough furniture to last us forever. We didn't have a clue at that point.


Wednesday, October 16th, 5:00 PM - 9:00 PM we will be having our 1 year Anniversary party. We hope you'll save the date and come share our celebration with us. I'll be posting more information as we get closer. Some fun things being planned, great door prizes and giveaways plus yummy refreshments.
We made it this far because of our wonderful customers and friends....
Thank you just doesn't seem like enough.
Create,
Patti
Monday, August 5, 2013
Things are really rockin'
Good morning,
CRAZY.... that would be how we'd describe it. Other words could be used, Wonderful, Fantastic, Busy and the list would go on.
We've been open almost 10 months, but in the last 3 months it has gone from busy to "non-stop".
Painting 12 hours a day, 7 days per week is now the norm. Fortunately, we have many vendors helping us keep up with the demand, but it's still a fuller than full time job.
This weekend, we took part in a Junk Market at Touch of Home in Burnsville, and it was Wild. We set up between 6:00 and 8:00. The market opened at 8:00, by 10:00 I had to call the shop and have them load the van and bring me more, I was just about out of everything but a few chairs.
I had brought with me - Chest of Drawers, End Tables, Magazine Racks, Mirrors, Frames, Chairs, a Desk, small tables and then of course my Websters Chalk Paint Powder. It was non-stop in our booth and then the customers went to the shop and pretty much cleaned out the shop as well.
We were excited about the wonderful sales but then we remembered, the next morning the Star Tribune was having an article in the Sunday paper - Dakota County section, about Next Act. Now we had a major article coming out and a shop that was a bit picked over.
We open at Noon on Sundays.... Nancy got in at 10:30 to try to straighten the shop and fill in the holes left from sold pieces. The phone started ringing off the wall and then the people started coming in. We met so many new customers and saw a lot of our regulars. It was fun and nobody seemed to notice the selection in the shop was a bit down. I was at the back table painting new pieces and selling the Websters supplies.
Now you know why I haven't been blogging much. I'm at the shop trying to keep up with the supply and demand. Also, teaching workshops and selling the Websters Chalk Paint Powder.
It has been wonderful, no complaints. It's a rewarding feeling to know that our pieces are being used to make homes warm and cozy.
I better say goodbye for today, need to get to the shop and paint. We open again on Thursday and I have a considerable amount to do before then. Also, custom orders to complete as well.
Be Creative,
Patti
Wednesday, June 5, 2013
Merchandising, hard or easy?
I bet there isn't a week that goes by that someone doesn't ask us, "who does your displays"?
For the most part it's me. Of all the things I enjoy doing, displays and merchandising are top on my list.
It started over 30 years ago when I lived in California. My first husband was stationed at Travis AFB and there wasn't many employment opportunities in Fairfield, so I was left looking for something to do. I wanted to go to the local Junior College and take a course in Merchandising and Marketing, but as it turned out, that wasn't possible on an Airman's salary. The next best thing was to go to the library and read up on merchandising, color combinations, even vs odd numbers in display etc. Armed with a notebook and pen, that's exactly what I did.
I was pretty good at home decor, and I have good color sense - so merchandising and displays seemed like the perfect thing for me. It wasn't for about 15 years, before I could actually put any of my knowledge to use in a retail setting.
I started working at Fabric Town and that's when it all became fun. What better place to work with colors and ideas than a Quilt Shop. It was fun, taking the quilts, draping them and adding little fabric packs, patterns and kits to the mix. Quick and easy displays were created and it was a nice feeling when someone would purchase items from our display and compliment us on the visual treat.
After quite a few years, I purchased Fabric Town, and started to add Antiques and painted pieces to the mix. My husband and I would spend Saturday's at different occasional shops looking for just the right bowl, crate or even vintage sewing machine to complete the "In my head display". I knew what I wanted each quilt to be paired with, and it often took weekends and 10 shops before I got it right.
The results were well worth it. The compliments were wonderful and the warm displays gave our customers a feeling of what the quilt would look like on a bed, draped over a chair or even hung on the wall. My own home had quilts on many walls.
The same rules that worked for the quilt shop work for Next Act. One thing that I am not fond of is the junky-cluttered look. Too many times you go into shops and they have so much in their displays that it's visual overload. I like to have a combination of merchandise that is appealing to the eye, coordinates as to content yet you can easily see every item without digging or straining. To me the "less is more" rule applies to most displays.
I spent yesterday and part of today, de-cluttering some of our displays. I didn't get rid of the things, I just re-distributed them throughout the shop. No need to have 8 teapots on a table when 3 that compliment each other make a nice statement. To me color is important, it must be visually attractive. Groupings are great if they draw your attention. Pops of color add a lot when possible. There are so many variables but the main idea is to showcase your merchandise.
Throughout the shop we still have the quilts displayed and for sale. Table runners and toppers adorn the nooks and crannies. I still have the need for the warmth they add. Fortunately, the ladies of Fabric Town are willing to offer their creations. Many a display has gone to a new home intact. They took the quilt, chair it was draped on, as well as the side table and lamp. In a case like that - I guess that display was a hit.
I hope that you continue to enjoy our displays and our ever changing selection of merchandise. Nancy and I certainly appreciate your patronage and all the new friendships we are making. It's a wonderful feeling to go to work everyday and like what you're doing and who you're doing it for.
Be Creative,
Patti
Thursday, May 30, 2013
A little this and a touch of that...
 |


That's just some of the items we have in the shop. Our selection changes daily - we add items almost every day and on Thursday thru Sunday we watch them find new homes. It's a very rewarding feeling to know our pieces will be enjoyed. Keeping up this pace doesn't leave me much time to blog... I promise (again) that I will try to post a few things each week.
Keep on Creating
Patti
Saturday, May 4, 2013
Just a little preview of what's new.
I haven't had time to blog lately. It seems that painting and getting the shop ready every week has taken all my time. That was not a complaint, just a fact. Nancy and I spend every Monday - Wednesday trying to replace the pieces that sold the week before.

This is just a sample of some of the things we've been working on lately. By the time I post this many may already be gone.

This would be cute in a little girls room. Great place to do her homework..

The new Mother's have been coming in and letting us help them with the Nursery. This is the newest set we added. I have always loved Butter Yellow, when you add an accent of Antique White it becomes a soothing combination. Some of our vendors have brought in handmade Baby Burp Buddies and Vintage wooden toys. Several small quilts and wall hangings are also available.


What a great unit this is. Use it as a bar, remove the shelf, add a tension rod and hang clothes or store your seasonal items. Two drawers on the bottom for smaller items. Someone even suggested putting a TV on top. I can see many different uses for this piece.

Coffee Tables, Buffets and lots of accent pieces. Black seems to be the new neutral these days. As fast as we paint them, they find new homes. I like the dramatic richness Black gives to a room.

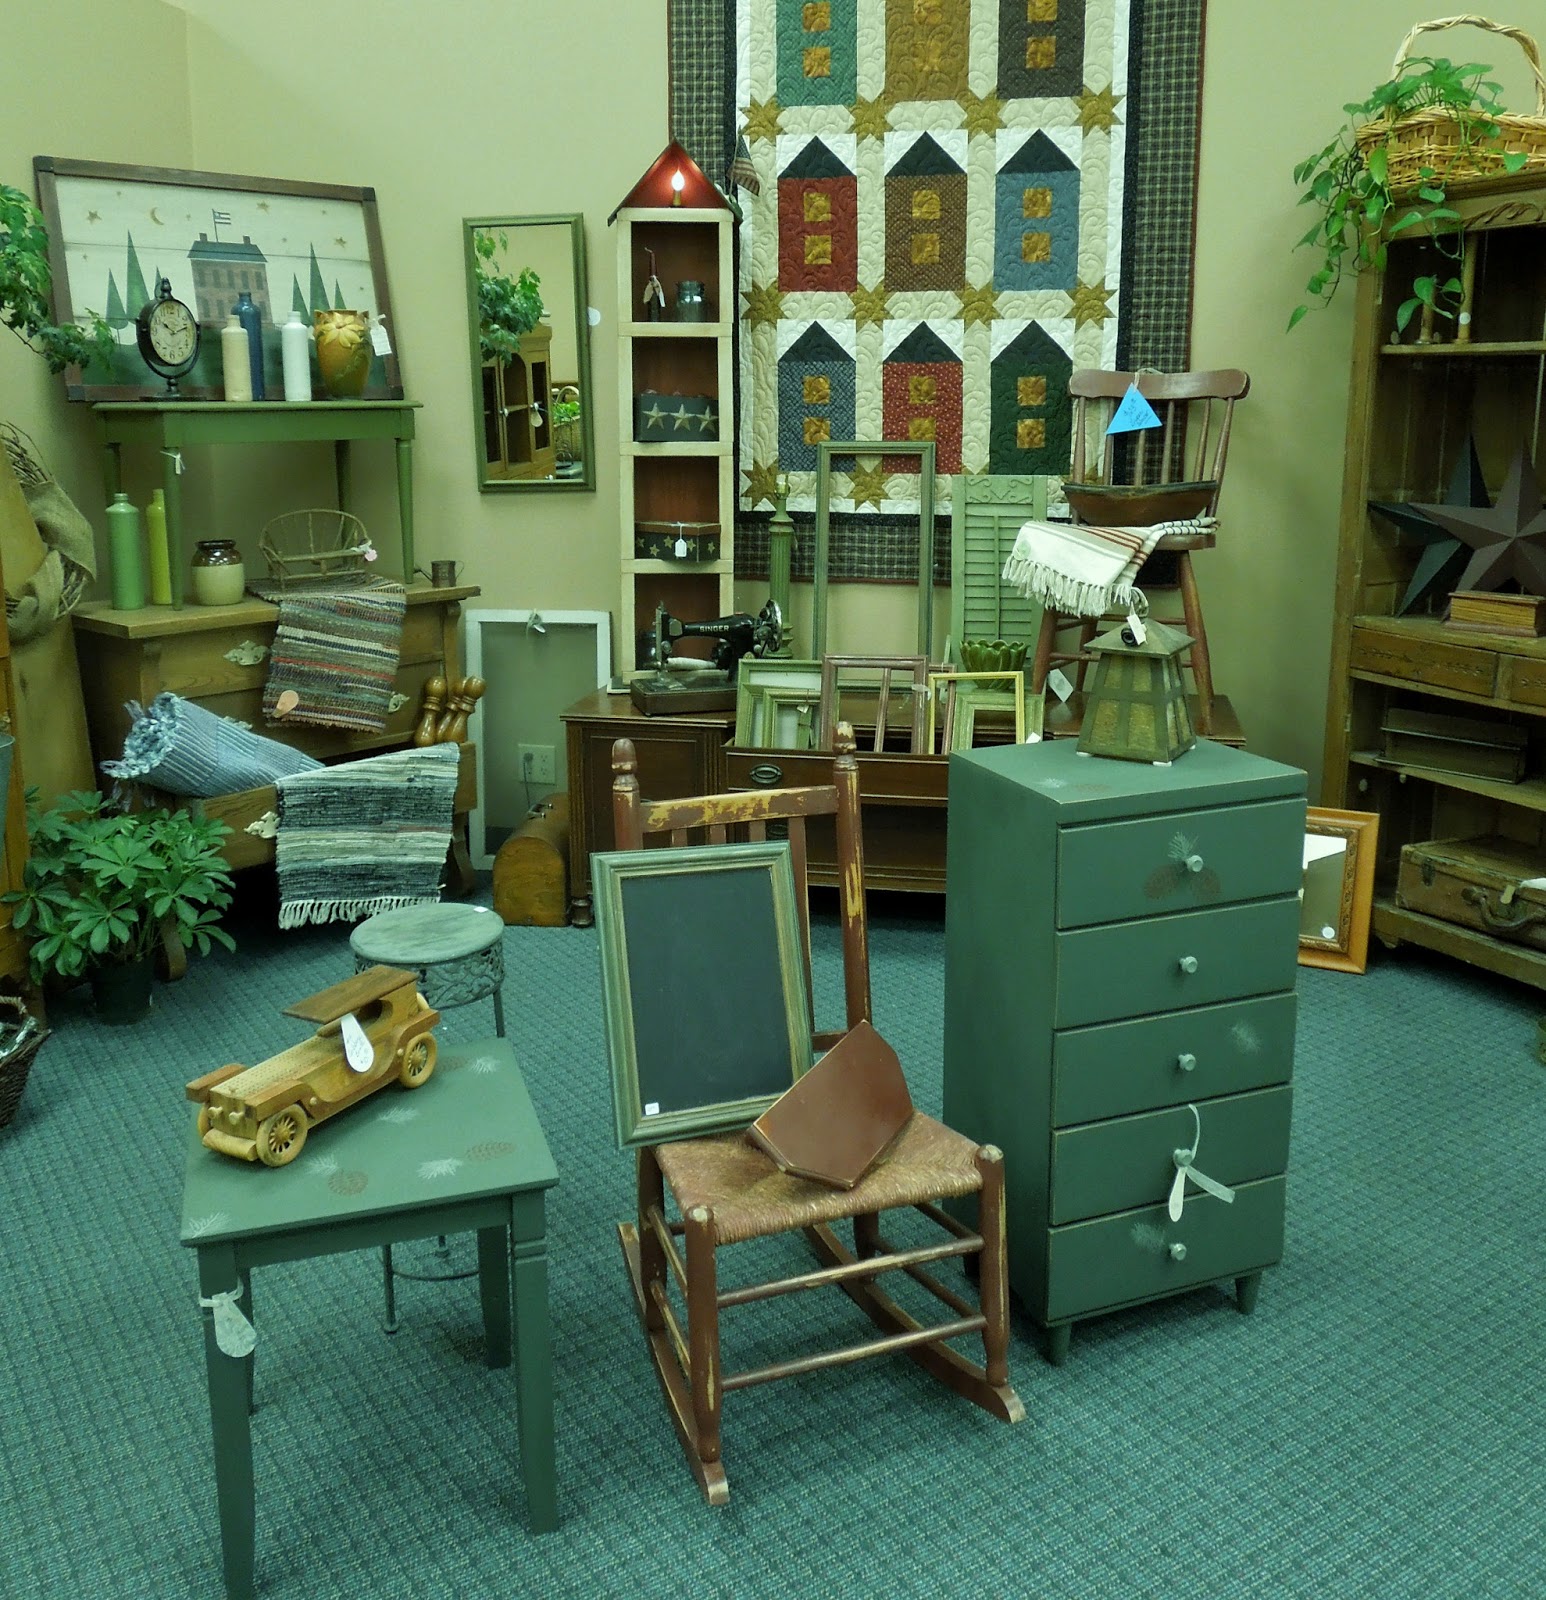
Chalkboards, Clocks and Frames.... lots and lots of frames throughout the shop in many different colors and styles.

White on White. Clean and Crisp.

This wonderful addition was brought in by "Time Warp Collectibles". Butter colored enamel, immaculate condition. I picture this in a vintage kitchen or a cabin. They don't make pieces like this any more.

They're saying 70 degrees by Monday... maybe it's time for some serious gardening. We have all kinds of re-purposed garden Chairs. Waterproofed to be used on your deck or in your garden.

Pottery, one of my favorite things. Again - shades of yellow mixed with Red. A feel good combination.
This is just a little of what's available. The shop changes weekly, so be sure to stop in and see what's new. Take Care, Patti
Subscribe to:
Comments (Atom)